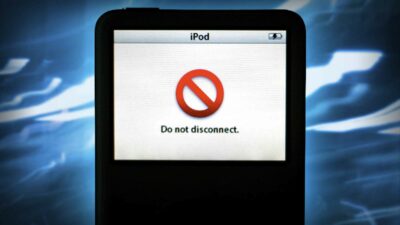
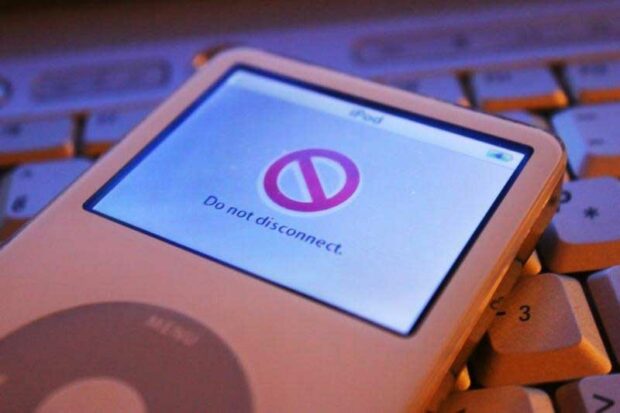
Are you trying to eject your iPod from your computer but the iPod Do Not Disconnect message won’t go away? Sometimes that flashing red icon can be pretty annoying – especially when you are in a hurry.
However, the iPod’s disconnect screen does serve a good purpose. It lets you know when it is safe to unplug your iPod from your computer’s USB or FireWire port. Incorrectly disconnecting an iPod while it is in use can damage data on the iPod and/or the computer’s hard disk.
But what should you do if the “Do Not Disconnect” message remains on your iPod even after you properly ejected it? Don’t worry, this is a common problem with a fairly easy solution. This tutorial will show you what to do if you have an issue where an iPod DO NOT DISCONNECT message won’t go away.
Requirements:
- Any iPod
- A computer with iTunes installed
How to eject your iPod from your computer:
Before you just disconnect your iPod from your computer, you need to properly eject it first. Incorrectly disconnecting an iPod while it is in use can damage data on the iPod and/or the computer’s hard disk.
Quit All Open Apps
Quit ALL open applications and stop ALL running process that may involve your iPod. As long as your iPod is connected to the computer, and you have not ejected it from the operating system or iTunes, the iPod Do not disconnect message will appear on your iPod.
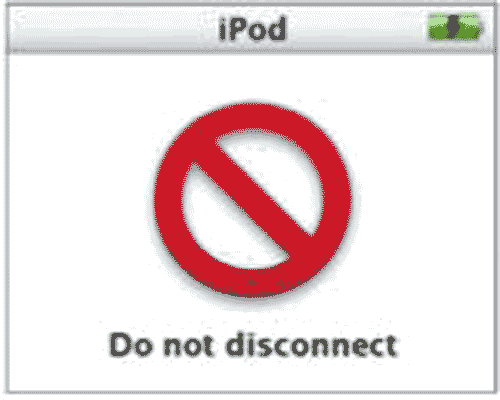
If you are copying files onto your iPod or if iTunes is automatically updating music on it, you will not be able to disconnect your iPod until these tasks finish. So quit everything, even iTunes. Let’s start fresh.
Open iTunes
Open the iTunes application. You can find it i your application folder.
How To Eject Your iPod Using iTunes
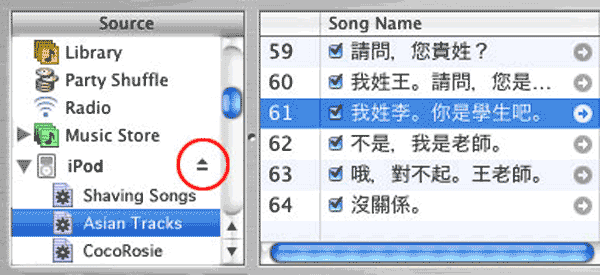
- Source Window : If iTunes thinks your iPod is still attached to your computer, your iPod will appear in the Source panel. To the right of your iPod is a small gray arrow. Click on the arrow and your iPod should eject. The gray Eject Arrow is circled in red in the image below.
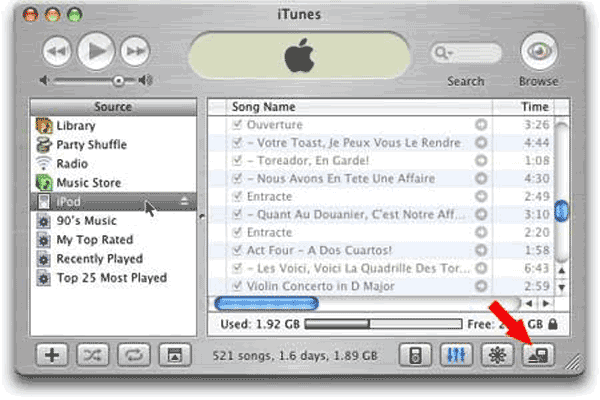
- Eject Icon: You can also Click the Eject iPod button in the lower right corner of the iTunes window, as indicated below. The Eject iPod button appears when you select your iPod in the Source list.
Do You See A “Do Not Disconnect” Warning?

Is your iPod is still displaying the “Do not disconnect” screen after you successfully ejected it in iTunes? You can also try to eject the iPod from the operating system level using the Finder (Mac) or My Computer (PC).
- Mac
- Click the Finder icon in the Dock.
- Select the iPod icon on your Desktop.
- From the File menu, choose Eject iPod (Command-E).
- Windows
- Double-click on the My Computer icon on your Desktop.
- Right-click the iPod icon.
- Choose Eject from the menu.
Do You STILL See A “Do Not Disconnect” Warning?
If the “Do not disconnect” screen still appears on your iPod even though you’re sure you’ve ejected it correctly, you might be able to just disconnect it.
Please follow these steps first before unplugging the iPod while the “Do not disconnect” is still flashing :
- Listen to or touch the iPod to see if its hard drive is spinning. If the hard drive is not spinning, you can safely disconnect iPod from your computer.
- If the hard drive is spinning, quit iTunes then re-open it. See if your iPod appears in the Source list. If so, try to eject the iPod again.
- If the hard drive continues to spin while displaying the “Do not disconnect” message, reset it, wait 5 seconds and then quickly disconnect it from your computer.
- You can also try shutting down your computer. Sometimes that will make the “Do not disconnect” screen finally go away.
OK To Eject
When you’ve successfully ejected the iPod, you’ll see this message on iPod’s screen: “OK to disconnect”


Frank Wilson is a retired teacher with over 30 years of combined experience in the education, small business technology, and real estate business. He now blogs as a hobby and spends most days tinkering with old computers. Wilson is passionate about tech, enjoys fishing, and loves drinking beer.








Leave a Reply